Maybe you’re just getting started with Snowflake, maybe you’re well into your Snowflake project but are running into the “sensitive data roadblock,” or maybe (and we won’t tell your security team) you already have all your data (including that sensitive customer PII) in Snowflake, ready to be used and optimized.
Regardless of your data project maturity, Snowflake data governance and security must be on your mind. And perhaps you’re at different stages with this as well. You may be leveraging Snowflake’s native data governance features to tackle some tasks with SQL but leaving others on the back burner. Or you find it difficult to keep up with all the new data coming in and the users requesting access.
Wherever you are in your journey, it’s never too late to think about how you’re managing Snowflake data governance and how you and your team can leverage data governance best practice to most efficiently ensure your data stays private and secure. We developed this Snowflake Data Governance Best Practices Guide to help you review your checklist and ensure your bases are covered.
Step 1: Data Classification
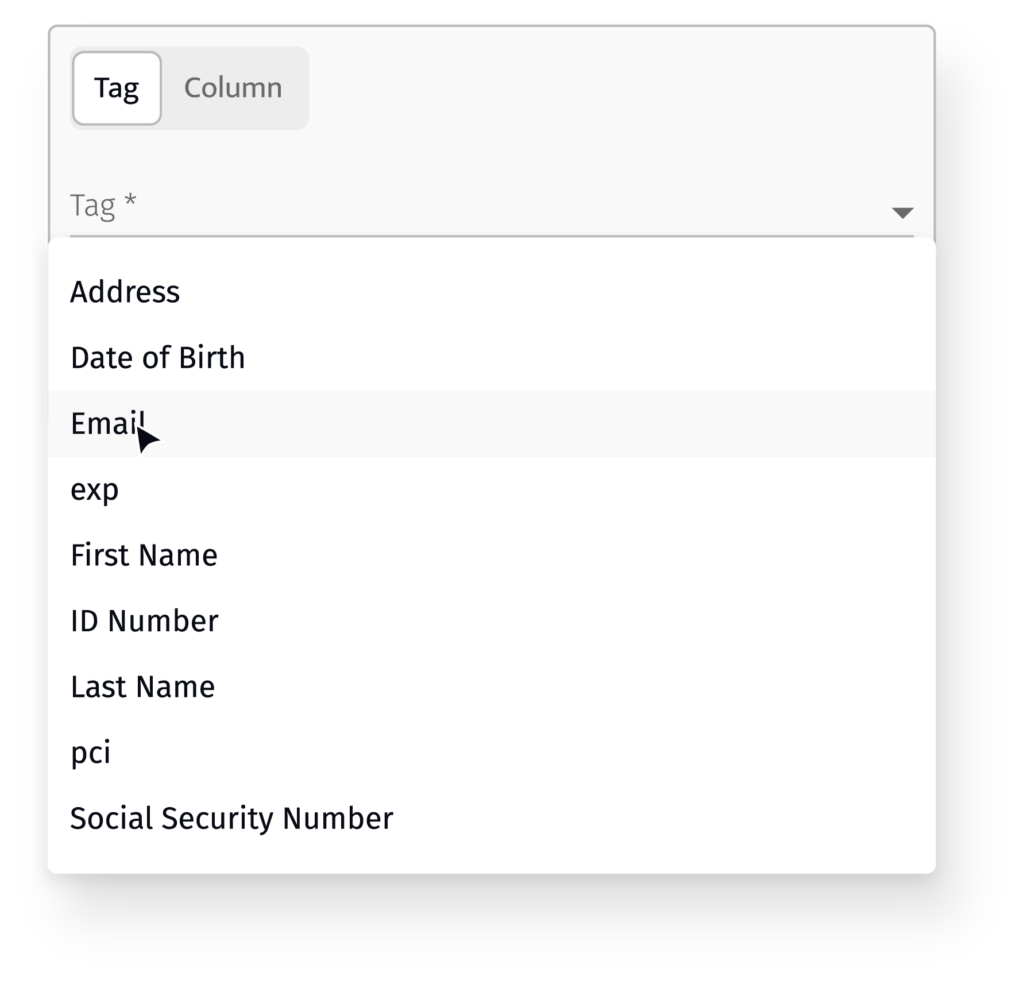
An essential Snowflake best practice in your data governance program is to examine the data and databases coming into your cloud data warehouse to identify sensitive or regulated data. It may seem self-evident that a column labeled “Social Security Numbers” contains, well, social security numbers, but you might be surprised! Data can be accidentally comingled, sometimes column headers can follow a completely unintelligible formula, or you might be surprised to see email addresses in a column called “Username.” If you have just a handful of columns or rows, digging through your data could be an hour’s work in a morning. But if you have hundreds or thousands of columns, with new databases being continually added, this data classification task can become not just a time suck but practically impossible. That doesn’t make it any less important, unfortunately. You can’t govern or secure sensitive data if you don’t know where it is.

See a comparison of how you might do this yourself using Snowflake’s native capabilities versus ALTR’s automated solution.
Step 2: Data Usage Monitoring
Once you’ve identified (and hopefully tagged) columns holding your sensitive data, the next Snowflake best practice is to ensure that you have a way to see who is accessing that data, when and how much. Some companies have pushed so hard to become “data-driven” they might have opened up the data floodgates to the rest of the company clamoring for insights into their business units. While you can check data access manually with query logs in Snowflake, it can be an arduous task to turn that unstructured data into valuable insights. Having this visibility at your fingertips can make complying with data privacy regulations and audits much, much more manageable. And it can be incredibly insightful in allowing you to get a baseline sense of what normal data use looks like in your company. For example, are your marketing users accessing customer emails once a week for relevant outreach? Once you have that insight, setting appropriate policies and identifying anomalies becomes much easier.
Step 3: Data Access Controls and Policy Enforcement
This is the next critical Snowflake data governance best practice: deciding what roles should have access to what data and then enforcing that policy. Some groups need unfiltered access to the most sensitive data – think HR accessing payroll data. Other groups only need access to data that is relevant and critical to doing their jobs – the marketing team might need to cross reference purchase info with data of birth and email address to send a targeted offer. But the HR team doesn’t really need access to customer PII. A helpful concept to follow is the “principle of least privilege” (PoLP). This is a risk-reduction strategy of giving a user or entity access only to the specific data, resources, and applications needed to complete a required task. Snowflake data governance, then, is all about setting these access controls by Snowflake database columns or rows.
As more and more data is added to Snowflake and more and more users request access, the tasks of setting access controls for users can become both time-consuming and risky. The process becomes more onerous as additional Snowflake databases or even additional Snowflake accounts are added. Surely the roles, policies, and access controls need to be consistent across your whole Snowflake ecosystem.
See a comparison of how you might implement row-level security using Snowflake’s native capabilities versus ALTR’s automated solution.
Step 4: Data Masking
A further refinement of the data access control best practice is data masking. This is the process of not completely excluding the data but obfuscating the data so it’s recognizable. For example, an email address like [email protected] could be masked as c****t@a**r.com. Or a social security number could be shown as “***-**-1234. This allows users to run analyses on data in multiple databases by cross-referencing sensitive data like email addresses without knowing exactly what the email address is. Data masking is fundamental to Snowflake data governance programs.
See a comparison between writing data masking controls using SnowSQL in Snowflake versus automatically with ALTR.
And see how a multinational retailer used ALTR’s custom masking policy to ensure the highest level of security for its customer PII data.
Step 5: Data Rate Limiting
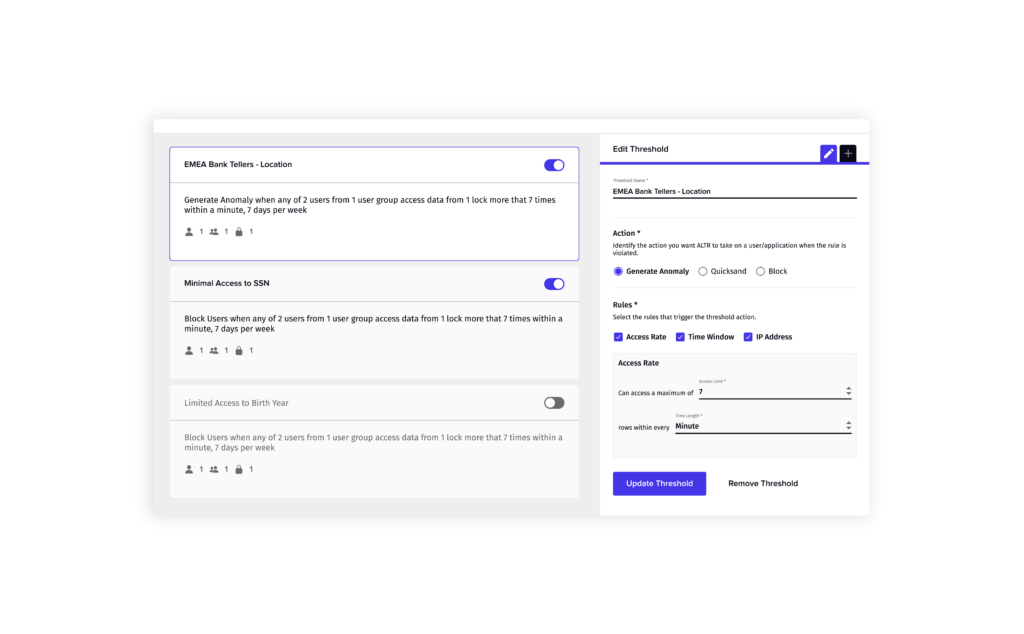
The next and one of the most important Snowflake best practice is to limit the amount of data even an approved user can access. Even when data should be accessible to a specific group of users, it’s improbable that they would need all the data at once. Can you imagine a marketing person downloading all the personal information – first name, last name, email, DOB, etc. – for every single customer? That sounds like a threat to me. In order to ensure that no users get carried away, intentionally or unintentionally, you should set up limits for the amount of data each role can access over a specific time period. This lowers the risk to your data by stopping credentialed access threats before they do unrecoverable damage and ensuring even the most privileged users don’t access data they don’t need.
See how you could set data access rate limits manually in Snowflake (or not) vs. automatically in ALTR.
Read how Redwood Logistics combined data rate limiting with alerting to ensure that privileged Snowflake admins couldn’t access sensitive payroll data.

Bonus: Business Intelligence User Governance
One of the primary purposes for migrating data to Snowflake is to enable analytics through business intelligence tools like Tableau and Looker. Once you have your data governed and secured in Snowflake, you’ll want to make it available to line-of-business users throughout your organization. But how do you make sure you know who’s accessing what data and that only authorized users get the sensitive stuff? You could create a Snowflake user for every Tableau user so that there’s a one-to-one relationship, and Snowflake can track the individual’s query. But this causes two issues: you have to manage Tableau and Snowflake accounts for every user, which can run into the thousands at the largest companies, and you have the same data monitoring issue listed above – you’re digging through query logs.
See how ALTR’s Tableau user governance integration can help avoid both these issues.
Snowflake Data Governance Best Practices
There are some data governance best practices you need to implement no matter where your data resides-on-premises or in the cloud. But there are some specific quirks to Snowflake you’ll need to know in order to ensure your sensitive and regulated data stays secure while your users use it. Many of these can be accomplished using SnowSQL to activate Snowflake native features, but that’s often not a feasible solution when managing multiple accounts, hundreds of databases, or thousands of users. ALTR’s platform can help you scale your Snowflake data governance policies across your Snowflake ecosystem.


